
Jewelry Photography
The course is split up into 3 in-depth videos. Each clip will focus on a specific part of the shoot. The 3 parts that make up this course are, namely: styling, lighting, and post-production editing.

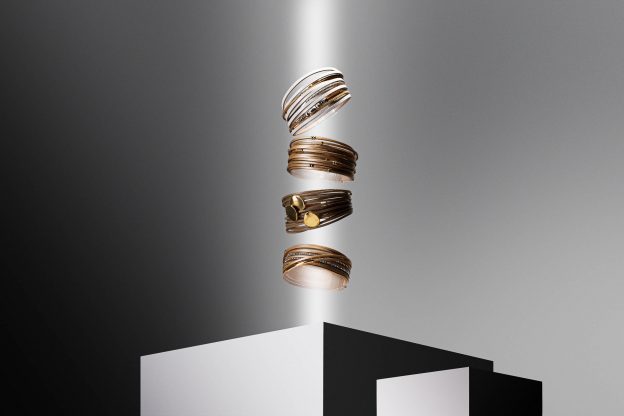
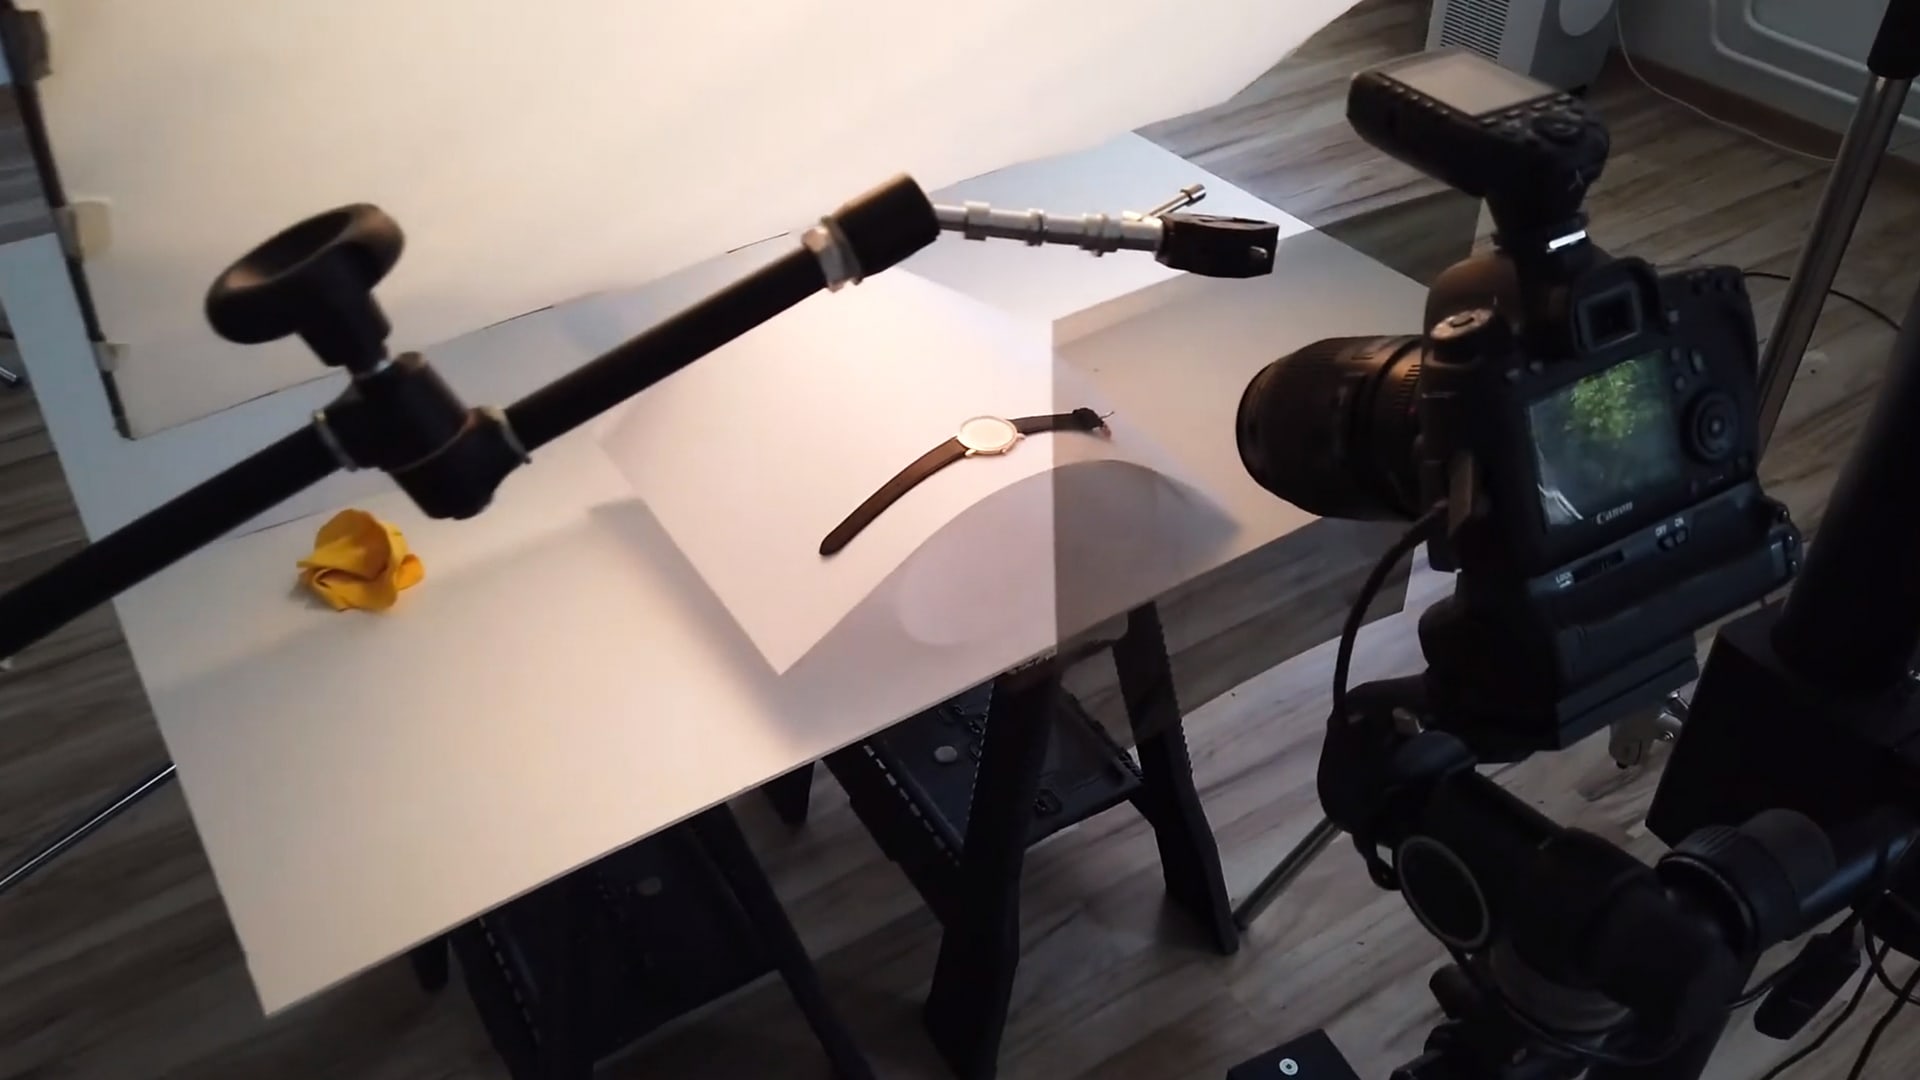
The Setup On the table you’ll notice two blocks of various sizes, these are self-made. If you’ve watched my previous tutorials you would have seen these before. Good news, you needn’t spend lots of money on purchasing a platform on which to place your products. You can quickly build a professional-looking block using foam or wood squares. Smooth each side down and paint it white. Another D.I.Y option is to to take an old box and paint it white. Any defects or imperfections can easily be touched up using Photoshop. We’ll look more into this in the course. The primary beam of light is held up on a C-Stand and placed directly overhead of the bracelet stack. This was the most practical setup for my studio. You can choose to hang it from the ceiling or on a cross beam. Light, both soft and hard, are positioned around the subject. You can see the dark shadow in front of the image on one side of the block. There is also a clear gradient in the image, with the left side engulfed in shadows. This was almost wholly achieved through strategic lighting setup. We will dive deeper into the entire lighting process in the tutorial. Curriculum Summary The course is split up into 3 in-depth videos. Each clip will focus on a specific part of the shoot. The 3 parts that make up this course are, namely: styling, lighting, and post-production editing. During the styling stage, the instructor will be introduced, the product will be identified and the materials and design will be decided upon. We will break down the studio and how you should arrange our work-space. For lighting, all equipment requirements will be listed, and how to set up and achieve optimal lighting for the shoot. In the editing stage, we will focus on the image processing and retouching needed. We will create a workflow for our editing software, review the images, and create the final product that will be added to our portfolio. Learning Outcomes Use a variety of brainstorming techniques to generate novel ideas to achieve still life images that are of value and appeal for your clients. Develop proposals and organize and orchestrate photo shoots through the successful management of resources and time. Incorporate the principles of your still life photography into the conceptualization and development of effective images. Describe different qualities of light ( intensity, color, contrast, direction and diffusion). Use aperture and lighting to achieve different still life photography outcomes.

Please confirm you want to block this member.
You will no longer be able to:
Please note: This action will also remove this member from your connections and send a report to the site admin. Please allow a few minutes for this process to complete.